Wednesday, March 29, 2017
Sewing For Syria

Hey guys! Over the past few months, we have been working on a really cool project that we want to share with you guys and get more people involved in. After watching videos of Syrian villages being hit with chemical bombs in a social justice class, we, along with our friend, decided to try and make a change. Since we love to sew, we thought that maybe we could try and make a positive impact by using our skills of sewing, and with the help of a company in our area called "Our Social Fabric," who kindly donated more fabric and notions than we could have dreamed of to our cause, we were able to actually do it. We sewed makeup bags, tote bags, and aprons, and sold them at a local craft fair in December. Through that fundraiser, we were able to raise a substantial amount of money and purchase a Christmas dinner and lots of presents for a Refugee family in our area. Since this was such a success, we want to put it out there to all of you, so that you too can make a change by doing what you love. Look into what organizations are accepting and sponsoring refugees in your area, and even if you and some friends organize a small sale of some type of sewing, the money you raise will still be a help, no matter how large or small the sum turns out to be.
One of the reasons our sale was such a success was because of the fabric that we got donated, so if you know of any fabric companies in your area and you want to do this to, theres no hurt in asking what they're willing to donate.
We have both grown as both sewers and as people through this experience, and so we encourage others to do the same. The people that you meet and the lives that you change will stay with you forever, and if you're sewing anyways, why not make a little bit of it go to a good cause.

If you do decide to do something, feel free to use our logos, and please let us know how it goes! You can contact us on any of our social medias, like our Sewing For Syria Facebook Page, or even shoot us an email at sewingforsyrians@gmail.com if you have any questions.
Thanks so much for reading, and we hope this inspired you to make a change!
Miranda and Zahira
Saturday, February 25, 2017
February

Hi Guys, Miranda here!
This month has been so so crazy, but I did do some sewing things worth writing about. First, I finally finished the sample of the Simplicity 6986 shirt.

I wanted to make the dress, but I always have so many problems with alterations around the bust area, especially with vintage patterns, so I decided to sew a sample of the shirt with some left over pieces of fabric to figure out the fit, and I think that it worked! I'm planning on sewing this into a actual dress at some point in the next couple months, but I'm so indecisive that I can't decide what fabric I want to make it out of!

You may notice that I din't finish the hem, but I just don't see myself wearing this sample any time soon so I left it as is.


While that was the only thing that I sewed this month, I did get to do a LOT of shopping. Zahira and I went to a fabric sale in our area and took a couple trips to the awesome fabric store about an hour away from where we live, and we got some pretty cool stuff.

I picked up four vintage patterns for a dollar each at the fabric sale that we went to, and I am so so excited to make them. I already started altering the Style 4026 pattern in the bottom right corner, and I'm planning on making the blue dress but with three quarter length sleeves I'll have to draft myself (the pattern was missing the original long sleeves, but I figured I can fix that myself.)

The last things that I got this month were three beautiful new fabrics to add to my already to full collection. I think I might make that Style 4026 pattern out of the pretty lightweight yellow fabric, and I want to make a cute tank top our something of the sort out of the gorgeous silk that I ended up getting for only $7. The third fabric that I bought is lightweight and pastel pink, and it has little shiny diamond designs on it.

For the pink fabric, I'm thinking of making McCalls M6887 in View B. I've already made this pattern in View A (I'll do a post on it soon I promise), and I absolutely love the dress. However, last time I made it out of a stiffer fabric, and I think that it will look nicer with more room to flow. I also haven't decided if I'll add the sleeves, but I definitely want to try the piping, as that's something that I've never done before.
Anyways, that's all I've gotten this month, other than a GIANT order of patterns from McCalls that Zahira and I placed during their $3.99 sale last weekend, so we'll do a post on those when they come in.
xox,
Miranda
Friday, January 27, 2017
2017
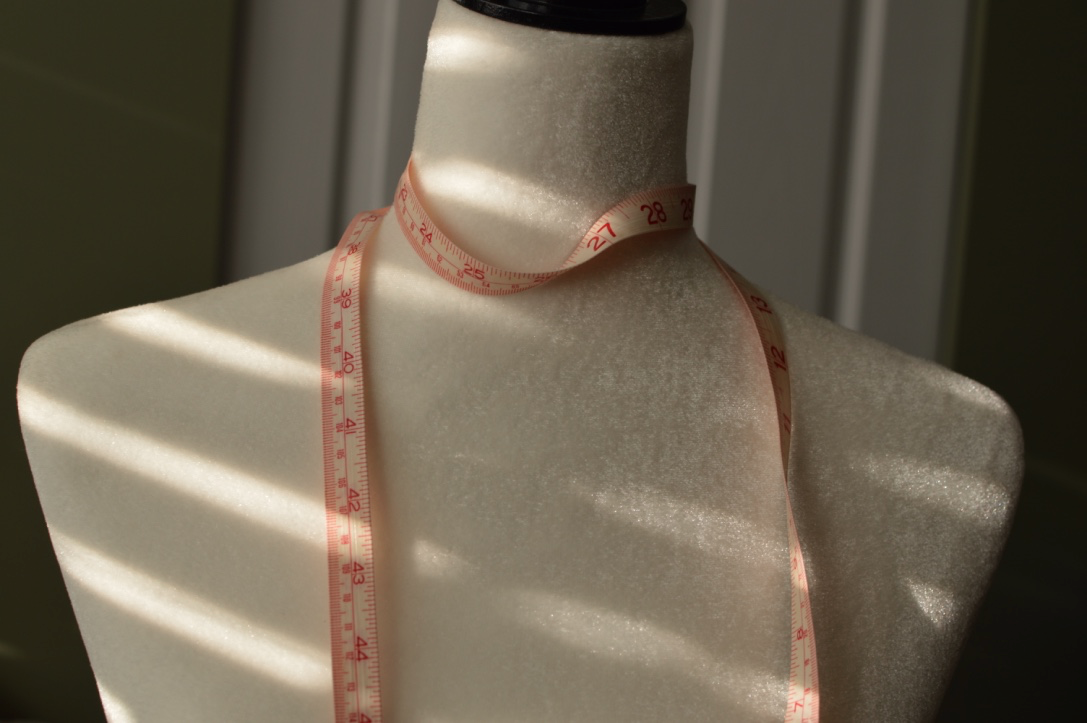
Hey everyone, Miranda here :)
Long time no write, huh?? Zahira and I have been absolutely crazy busy lately, trying to balance school and our volunteer work, we’ve barely had time to sew anything lately! I’ve been longingly staring at my new dress form and sewing space, just waiting for a minute to sew, and I think that I’m finally going to have enough time to actually start a new project! I’m planning on sewing this green waterproof jacket, so hopefully I’ll remember to take pictures of the actual progress this time, so that I can write a blog post on it.

Meet Sewphie, my new dress form... ain’t she pretty?????????????
On another note, I really want to start posting more regular updates on here, and I know that Zahira does as well. I’m planning on doing a tour of my sewing space soon, once I sort out all of the little things, and we are also going to be posting more thrift store hauls and stuff like that. My goal for 2017 is to sew at least 5 items that I really love, what's your 2017 goal?
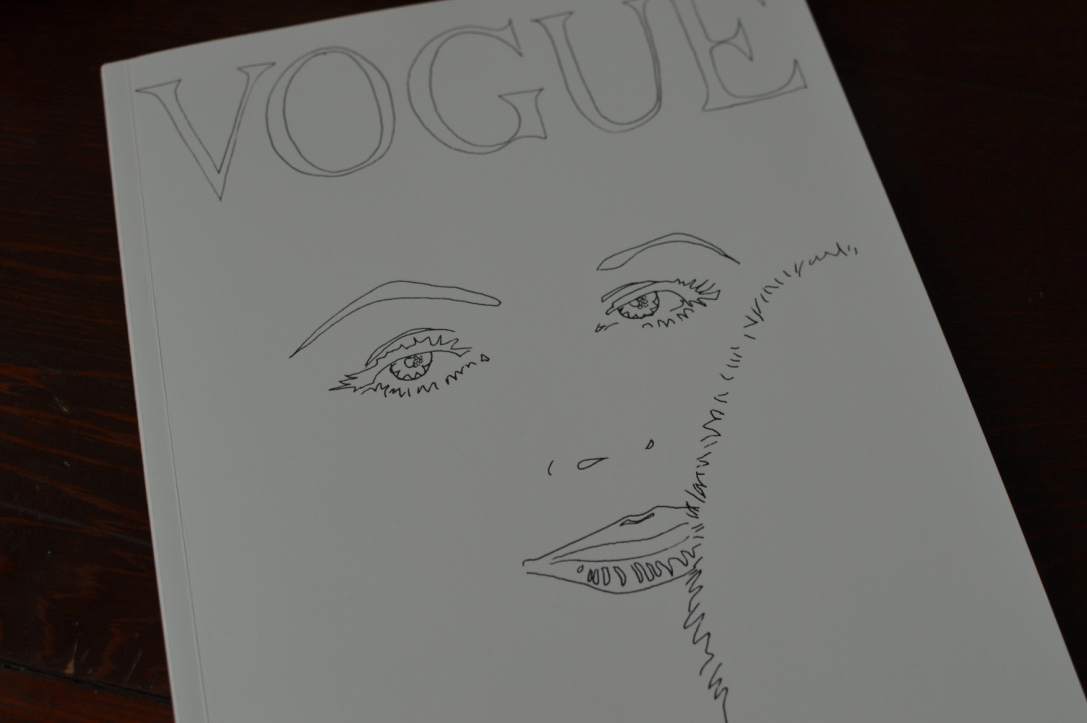
Also, how cute is this colouring book that Zahira got me for Christmas??? I love it so much!
Anyways, thanks for reading! Write again very soon,
Miranda
Monday, November 14, 2016
McCall's M6800 Review


You might not know this but Penelope is my favourite movie on earth. When I saw this pattern last year on boxing day, it reminded me of Penelope's coat and I NEEDED it.

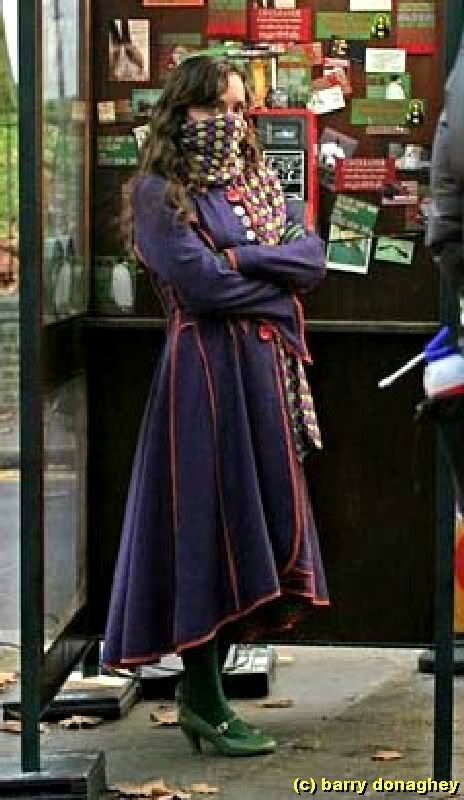
Fun fact: Penelope is my style idol.
As you may have noticed my coat looks nothing like Penelope's. The reason for that is that there were no good deals on purple heavy-weight fabrics. I spent a total of $87 that day (including a lifetime supply of interfacing, black thread and white thread) so I still felt pretty good about myself. Since my fabric didn't look like the one I wanted, I decided to make it an entirely different coat by choosing view D. Now, when I make the Penelope coat, it won't look like I have become one of those moms who buy the same shirt in all the available colours.

When starting this project, I decided to add 5cm to the length of my coat. This proved to be more problematic than initially anticipated. The skirt of the coat is shaped like a circle skirt, so when I added length, I also added width. This caused all of my pattern pieces to overlap. Luckily, I had previously decided to omit the hood, allowing me to use that space to further spread out my layout. In the end, I only had to sacrifice some of the seam allowance in my sleeves.

In all, the construction of the garment was pretty straightforward. There were no moments during which I felt the dire need to rip apart my instruction pamphlet. The only time I got the urge to dump the entire project was while slip-stitching (so about 99% of the time?). If you don't know what slip-stitching is, it is a type of hand sewing where the stitching cannot be seen on the outside or inside of the garment. I wanted my garment to look as high end as possible, so naturally I chose to slip-stitch all of the hem on the sleeves and the skirt, AND the lining (why do I hate myself?).

Another feature I incorporated to add to the expensive look were the bound button holes. This was also me trying to avoid fights with Jeremiah, my school sewing machine (yes, I named him). It required somewhat more work, but in the end Jeremiah and I were happy, and my coat looks like a million dollars!

"Would you sew this again?" When faced with this question my immediate reaction is NO. NEVER SLIP-STITCHING AGAIN. But then I remember what could be my Penelope jacket, and I remind myself that it will be different next time because I will use this method of lining meant for people who hate hand sewing, like me.

In the end, this project has become the pride and joy of my existence. I am looking forward to the really cold weather to kick in, not only because I genuinely enjoy it, but also because I get to wear this coat!!
XOXO
Zahira
Sunday, October 16, 2016
Butterick B5919 Review - Vintage Dress


Today I will talk about my favourite dress I've sewn in my life!! It is a gorgeous vintage dress with an open back and fun knee length gathered skirt. The collar is a funky sort of backwards peter pan collar. If I am to be totally honest, the pattern piece for the collar looked like one of those toilet seat tissue covers, so naturally, I hesitated to sew it into my dress. However, I have no regrets because I think the collar definitely adds a certain flare to the dress.

The back of this dress is the real seller, but I decided that I want to be able to wear a bra with this dress, so some alterations were in order. All I had to do was lengthen the back pattern pieces, and keep that in mind while sewing the rest of the bodice.

The overall construction of this dress was not at all particularly complicated. By following the instructions I was able to easily finish the dress without any major seam ripping hiatuses (is that the plural?).

It got somewhat complicated when sewing the back. I realized that I could no longer use the pattern markings to match the back pieces to the side pieces. In the end, I decided to just go for it, and thankfully it worked out. Being me, I wanted the dress to looks as professional as possible, so I fully lined the dress and slip-stitched the hem, which definitely was time consuming but worth it.

I am so happy with the way this dress turned out. It is by far my favourite dress that sits in my closet. I would for sure recommend EVERYONE makes this dress. However, it is probably wise to get some sort of sewing experience before sewing this. It was definitely not hard to make, but I don't think it's first project easy.

I am planning on making view A with the sleeves from C as soon as I have some time (maybe Christmas break?). I will for sure let you know how that goes.
XOXO,
Zahira
Wednesday, October 12, 2016
Butterick 6307 - Pattern Review
Hey everyone, Miranda here!

This past year I took a textiles course at my school, and for my final project I chose to sew a classy dress and overcoat from a retro butterick pattern that my teacher had in her classroom. The pattern and the instructions themselves were not overly complicated, however I ran into several problems while sewing this ensemble.

Firstly, the fabric that I purchased for the dress was a very thin baby pink, which meant that I had my work cut out for me. Since it was so thin, I found that I had to do two layers of lining on certain pieces, such as the bodice, and every single stitch that I made showed on the fabric so seam ripping was difficult.

With that being said, the actual construction of the dress was fairly straightforward, except for the zipper due to the several layers of lining. Overall, the dress itself took much longer than I anticipated, so I had to work quickly in order to get my over coat finished before the deadline.

The coat did not take that long for me to complete, and I am very satisfied with the way it turned out, as I only ran into one problem on it which had to do with an iron that I left on a setting that was much too high... oops?

In the end I am very pleased with the way that my pieces look together, however if I were to make it again there would be a few changes that I would make, including reducing the neckline measurements so that it would fit me better against my chest, as well as choosing a thicker fabric. With those aside, the actual dress itself is beautiful, and I absolutely love the sleeves which have amazing dart detailing.

Thanks for reading! Write you later,
Miranda
Monday, October 10, 2016
DIY Peplum Skirt


This is a peplum skirt that I finished last Christmas. And when I say last Christmas, I mean I completed it just 5 minutes before our big Christmas dinner.
"Why make the post now?" one may wonder. I'm making it now because I am just about done the matching top, of course! (...almost a year later)

To start off, I grabbed a fitted dress of similar fabric that I know I like to make the pattern for the main skirt. For the peplum, I used a regular circle skirt pattern, but cut it so the final length would be around 9". The waistband is a 5" wide rectangle the length of my waist. Keep in mind seam allowances need to be added to these measurements.

To put it all together, I first folded the waist rectangle in half (hot dog style) and sewed the short ends together. After sewing the sides of the main skirt together, I sandwiched the peplum between the waistband and the skirt. When you sew this together, you should be sewing over 4 layers of fabric.

Finally, I hemmed everything and voila! A beautiful peplum-skirt-soon-to-be-ensemble!

XOXO,
Zahira


